

Six years ago, when I was weeks away from photographing my first wedding, I frequently found myself Googling “how to photograph a wedding.” I had attended weddings. I had watched plenty of weddings on TV and in movies. I had even been in a few weddings! But I had never photographed a wedding before, and I was terrified that I would either miss an important moment, mess something up, or reveal to all of the wedding guests that I had NO idea what I was doing. Pretty scary, right?
You see, I started photographing weddings as a primary photographer – not a second shooter. Looking back, I think it would have been really valuable to second shoot a few weddings, but I was so eager to begin my business and so excited to learn everything on my own! If you have the chance to second shoot a few weddings before primary shooting one, that is a great idea. But I know that doesn’t work for everyone. You may have been asked by a friend to photograph their wedding (and photographing weddings is something a bit out of your realm), or maybe you were booked last minute for a wedding this weekend and you want to make sure you provide the best experience to your couples. Maybe you have second shot a few weddings and want to learn more about the process as a primary photographer (because you’re right: it is different!). Or maybe you have photographed a few weddings and just want to make sure you’re doing it right.
And we all know that photographing a wedding doesn’t mean showing up at a wedding with a camera – there is SO much more to it than that, from the work that is put in before the wedding, to what takes place on the wedding day, and the steps we take at every wedding.
Trust me – I totally get it. Photographing a wedding is a big deal and we all want to make sure we do it well. A wedding is a once in a lifetime event, and many of our couples have spent a lot of money for the celebration. We also know that wedding pictures are oftentimes all that is left after the wedding day, and these pictures will not only be cherished by the wedding couple but by family members now and in the future. If that isn’t enough to make us all anxious, I don’t know what is! So let’s put your mind at ease. I am going to walk you through – in a LOT of detail – how to shoot a wedding, beginning with the preparation weeks before the wedding and ending with the image delivery. Get ready because this is a long post!

- Timeline:
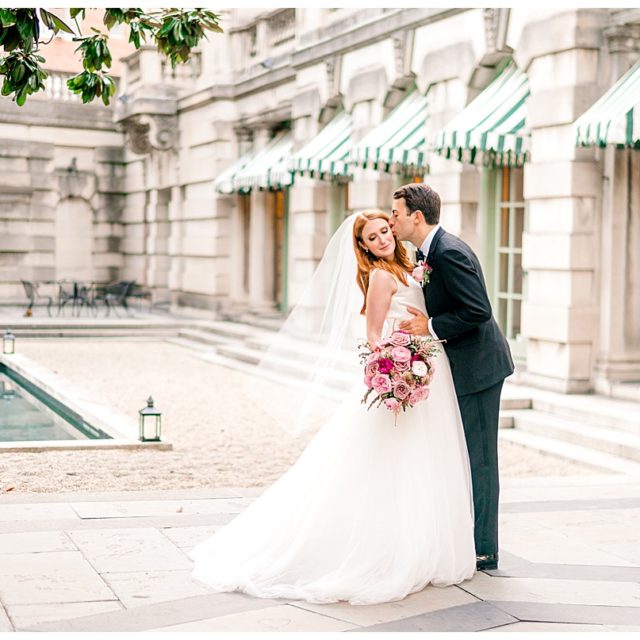
- Work with the couple to build a timeline that includes time for pictures of the beginning of the day, portraits of the wedding couple, wedding party pictures, family portraits, the ceremony, and the reception.
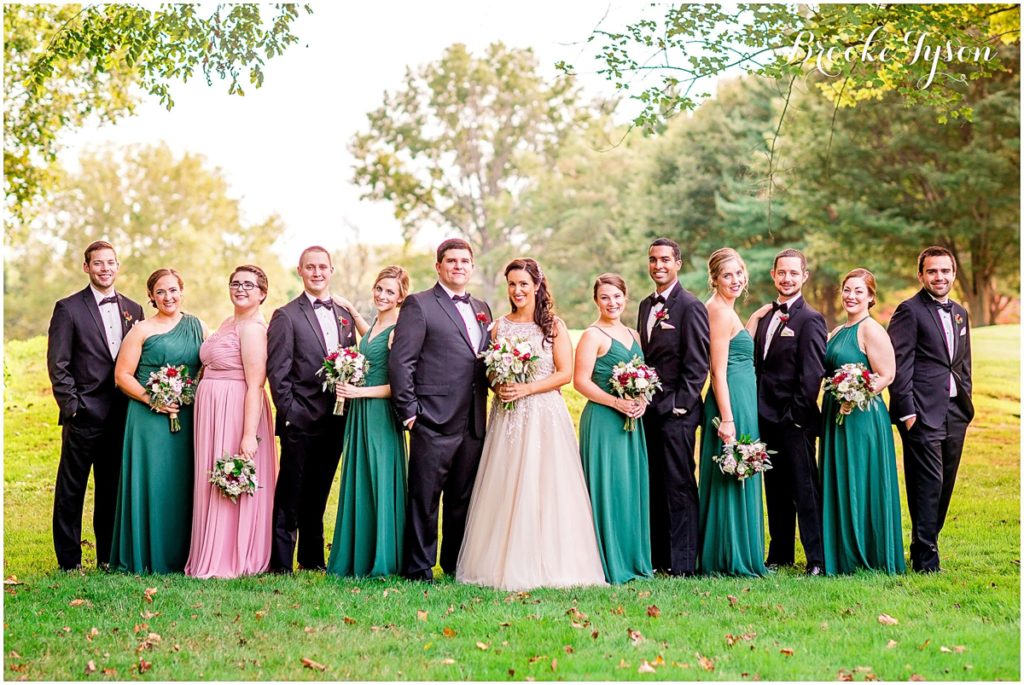
- Family portrait list:
- Ask the wedding couple to compile a list of the family portrait groupings they want for the wedding day, and talk about where and when these will take place (in the church? at the venue? right after the ceremony? before the ceremony?)
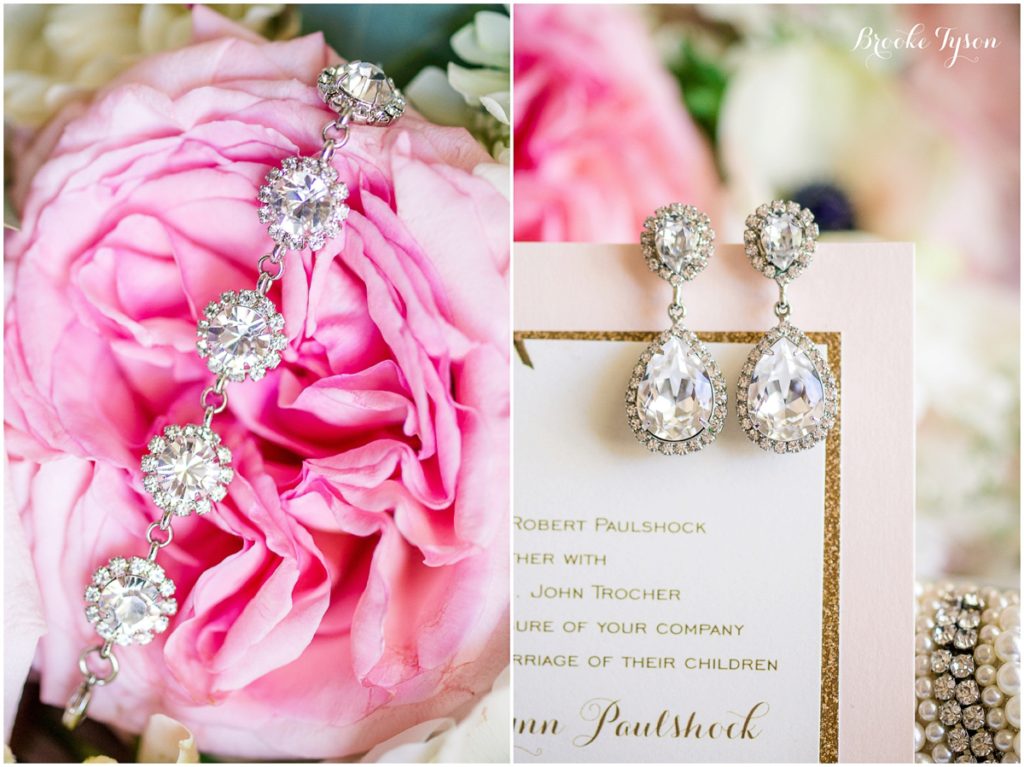
- Remind the wedding couple that they should gather any details to photograph during the getting ready portion ahead of time.
- I typically suggest that a bride makes a box with the wedding invitations, her jewelry, all of the wedding rings and the engagement ring, her shoes, her veil, and any other items she wants photographed at the start of the day).
- Special rules or regulations at ceremony or reception location
- Many churches do not allow flash and some churches do not permit photographers to move within the aisles or around the church. Know this ahead of time if possible; if not, find the officiate prior to the ceremony, say hi, and ask this same question.
- Final payment
- It is important to collect the final payment prior to the wedding day; this helps avoid the stress on the couple of remembering to pay you on the wedding day.

- Format camera to RAW and, if dual card shooting is available on your camera, make sure the camera is recording RAW images to two memory cards at once.
- Charge and pack your batteries
- (read my “all about batteries on the wedding day” post for more information on this)
- Make sure you have enough formatted memory cards for the day.
- I like to use a 128 GB card in each camera; that way I never have to switch cards (and risk having that card get broken or lost).
- Make sure you have plenty of spare formatted memory cards. You never know – and it is SO much better to be safe than to risk not having a card!
- Communicate with the wedding couple or planner one final time to double check the start time and location.
- Map the location and the drive
- I also like to use Google Maps to check this drive during the same time I will be driving to check if there is additional traffic during that time.
- Google to check if there are any major events on that date in that area.
- Trust me: this is a big one. I’ve had weddings in the middle of the city during BIG conventions and festivals that shut down major roadways, entrances, or parking areas – plus add travel time. Knowing this in advance can help you plan to travel a different way, park elsewhere, and overall be prepared.
- Clean your equipment and pack EVERYTHING you plan on taking. You don’t want to try to remember anything that you decided to wait on packing until the day of.
- Pack an “in case of” bag. Read about what I pack in my “in case of” bag next week!
- Print two copies of your timeline and family portrait list.
- I like to print these double-sided and on a colorful paper (I even try to coordinate the paper color to the wedding color; this is especially helpful for when I have two or three weddings in a weekend).
- And finally, one of my favorite tips is to save some favorite pose ideas both on your phone and on your camera!
- On your phone, create a new folder in images and save some favorite poses. Try to keep this under 15 images so you aren’t overwhelmed with ideas on the wedding day.
- My FAVORITE idea, though, is to save these on your camera! Once my memory card is formatted and ready to go, I will take photos of some pose ideas – typically I pull up the picture I love on my computer, then snap a photo with my camera. Then, on the wedding day, I can easily check these poses by going forward when reviewing pictures (and ultimately going to the very beginning of my photos). This makes it easy to look at pose ideas when you run out of ideas on the wedding day.

- Leave early.
- Even better – arrive early. This gives you time to walk around, review your favorite poses saved on your phone, have a snack, and relax before the big day begins.
- Be confident!
- Your confidence in yourself will help inspire confidence in YOU! If the wedding couple senses that you are doubting or second-guessing yourself, they will quickly lose confidence. You’ve probably heard the old adage “fake it until you make it,” and while I don’t advocate going into anything unprepared, faking your confidence is a great way to build genuine confidence. You’ve got this!
- Stick to the timeline without being demanding or over-managing the couple’s time.
- You worked with the wedding couple to create this timeline, so you know it is a schedule they are happy with. It is a good idea to help the couple stay on track with gentle and positive reminders (such as, “It’s 2:00 now and the ceremony begins in 30 minutes, so we need to leave for the venue within five minutes.”). I know from experience as a bride that it is SO easy to lose track of time on the wedding day. I had NO idea what time it was most of the day (and didn’t realize some events began late!). It was so helpful to have my photographer, Katelyn James, tell me it was a good time to leave for our reception at Belmont Manor, or that it was time for sunset pictures. On that same note, though, it is very rare for a wedding day to stick exactly to the schedule, so be able to go with the flow. If hair and makeup are running late and you don’t have time for pictures of the bridal party before the ceremony, make a mental note (or ask your second shooter to make a mental note as well) that you need to photograph them after the ceremony.
- Download my FREE Wedding Day Checklist to make sure you don’t miss any of the moments you want to capture.
- This checklist will help you start and end a wedding day feeling confident knowing you didn’t miss a special shot. You can also easily edit it to fit the wedding day you are photographing. For example, if the couple does not have a wedding party, you can cut that out of your checklist. Once you sign up, you will receive the Wedding Day Checklist sent right to your inbox!
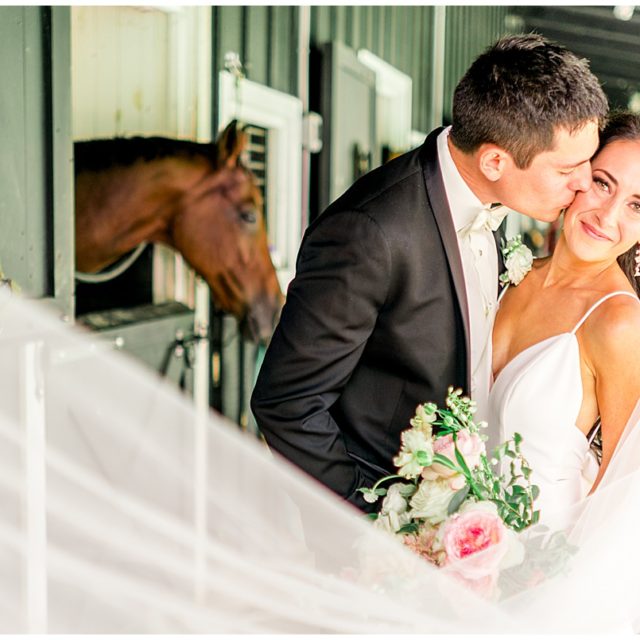
- Photograph the unposed moments too.
- We spend a lot of time visualizing the poses we want to walk our clients through, but it is so important to photograph those special, candid moments that are happening naturally. Keep your camera ready (except when people are eating!), and photograph those special moments, like the groom taking the bouquet and helping the bride carry her dress, or the mother of the groom’s tears during the ceremony.

- Once home, start backing up those raw files.
- I import all files to an external hard drive and then start backing up to Dropbox. I recommend buying a fast card reader to speed this process up. The Kingston High Speed Card Reader is excellent.
- Charge your equipment and either pack it away that night or the next day so it is ready to go for the next wedding or shoot.
- I like to edit and deliver a favorite photo for the wedding couple; I think it is really nice if they are able to see a beautiful picture from their wedding before the end of the night or the next day.

- Do not delete the memory cards until you deliver the photos.
- I like having multiple back ups and I would rather be safe than risk losing these important files.
- Stay in communication with your couples. Give them a timeline for when they will receive their files.
- It is really important also to give your clients a relistic timeline. “Your photos will be ready soon!” can be really ambiguous, and can leave a couple wondering why they haven’t received their photos. Instead, define “soon” with terms such as “your wedding gallery will be finished in eight weeks.”
- Import files into Lightroom and sort your favorites. If you are blogging, choose your blog favorites also.
- Edit your photos and export these as raw files. (I will have much more information about editing and exporting your files in an upcoming Tuesday Tips blog post!).
- Upload your files to a share gallery for your couple.
- I love Pass galleries because they are easy to organize and simple for my couples to download from. If you are not using a share gallery, place the images on a flash drive and mail them to your couple with instructions on backing them up. If mailing the flash drive, make sure to check with your couple to ensure they received their files.
- Store your edited photos on an external hard drive or Dropbox. Some photographers delete their RAW files once the couple has received the edited images.
Have an outstanding wedding day! I would love to hear what steps you take before, during, and after the wedding day as well. And enjoy using the free Wedding Day Checklist to help organize your day!
